The Art of Crafting Nourishing Ointment A Step-by-Step Guide to Making Traditional Remedies
Introduction:
Nourishing ointment, a staple in traditional medicine, has been used for centuries to soothe skin irritations, relieve pain, and promote healing. Made from natural ingredients, this ointment is not only effective but also safe for use. In this article, we will take you through the process of how to make a nourishing ointment, from gathering the ingredients to the final application.
Step 1: Gather the Ingredients
To start, gather the following ingredients:
- Beeswax: 1/4 cup (for a thicker ointment)
- Olive oil or coconut oil: 1/2 cup (for a smoother texture)
- Essential oils (optional): a few drops (for added scent and therapeutic properties)
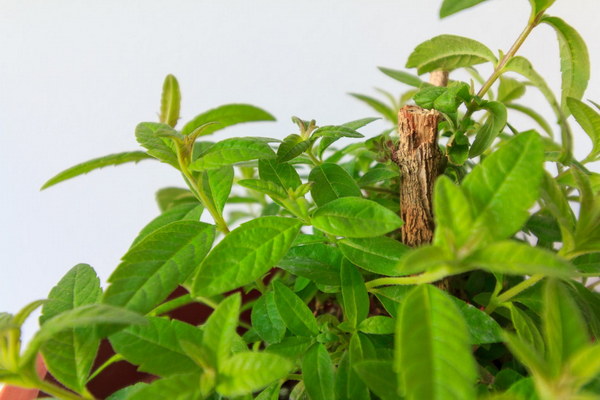
- Calendula flowers: 2 tablespoons (for soothing properties)
- Aloe vera: 1 tablespoon (for its moisturizing benefits)
- Vitamin E oil: 1 teaspoon (for its antioxidant properties)
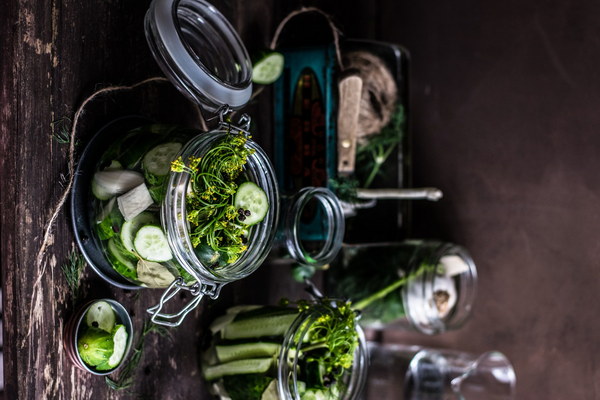
Step 2: Prepare the Calendula Flowers
Calendula flowers are a key ingredient in nourishing ointment, as they have anti-inflammatory and healing properties. To prepare them, follow these steps:
1. Harvest fresh calendula flowers and remove any leaves or stems.
2. Place the flowers in a clean jar, and cover them with olive oil or coconut oil.
3. Seal the jar and let it sit in a sunny spot for about two weeks. Shake the jar every few days to ensure even extraction.
4. After two weeks, strain the oil through a cheesecloth or fine-mesh strainer to remove the flowers and any debris.
Step 3: Heat the Beeswax and Oil
In a double boiler, heat the beeswax and olive oil or coconut oil until the beeswax has completely melted. Stir the mixture gently to ensure even melting.
Step 4: Add the Extracted Calendula Flowers
Once the beeswax and oil have melted, remove the mixture from the heat and add the strained calendula oil. Stir well to combine the ingredients.
Step 5: Incorporate Aloe Vera and Vitamin E Oil
Add the aloe vera and vitamin E oil to the mixture, and stir until fully combined.
Step 6: Add Essential Oils (Optional)
If you wish to add essential oils, now is the time to do so. Add a few drops of your chosen essential oil, and stir gently to distribute it evenly throughout the mixture.
Step 7: Pour the Mixture into Jars
Pour the mixture into clean jars, leaving a small amount of space at the top to allow for expansion as the ointment cools. Once filled, seal the jars tightly.
Step 8: Allow the Ointment to Cool
Let the ointment cool completely before using it. This may take a few hours, depending on the temperature of your surroundings.
Step 9: Apply the Ointment
Once the ointment has cooled, it is ready to use. Apply a small amount to the affected area and gently massage it into the skin.
Conclusion:
Making a nourishing ointment is a simple and rewarding process that allows you to harness the power of nature's remedies. By following these steps, you can create a custom ointment tailored to your needs, ensuring that you have a safe and effective topical treatment at your disposal.